
Ok this was my process. I don’t necessarily believe that this was the bast way to do it. It changed as the project progressed. Then when we made the next two episodes and I changed a lot.
Planning
I read online a lot about how people had made cardboard versions of the HEV suit that they had then applied a material like bondo or fiberglass to it and then painted it. This was my first approach as I had had some small amount of experience using fiberglass and resin so it seemed like a place to start.
It’s not what I ended up doing but there are a lot of helpful people there. Here’s a link to a forum post.
Then I met a guy called Steve Wang (lucky me) and he suggested I use this type of foam called L200. So there was a place in the San Fernando Valley called Atlas Foam and they supply it for around $30 for a 4 foot by 8 foot sheet. Later I found out you can get it in black, but in my case it was white. Steve told me to take the cardboard version and then use that as sort of a template to cut out the foam version. I only planed to make one suit and foam seemed logical for wear and tear.
This was the path I eventually took.
Printing
I downloaded these files that a few guys online had pulled from the half life game, (currently here) and opened them with a program called Pepakura which allowed me to print the HEV suit out onto pieces of letter sized card with my inkjet printer.
Once I had those I took a sharp knife like an Exacto or surgical blade and began the laborious task of cutting and scoring the pieces. I used ZAP A Gap to stick it all together.

L200 Foam
After that I took a sharpy and drew lines on the paper model, sort of large obvious sections where I was going to cut it with scissors, so that I could place it on the L200 foam and cut around it.

I cut out the foam with (many) box cutter blades, I tried other stuff, even a hot wire but none worked. I stuck the foam suit together with ZAP A Gap super glue a bit at a time. This was sort of a trial and error part of the process. I would make changes as I went along sizing up the pieces as Bernhard tried them on.
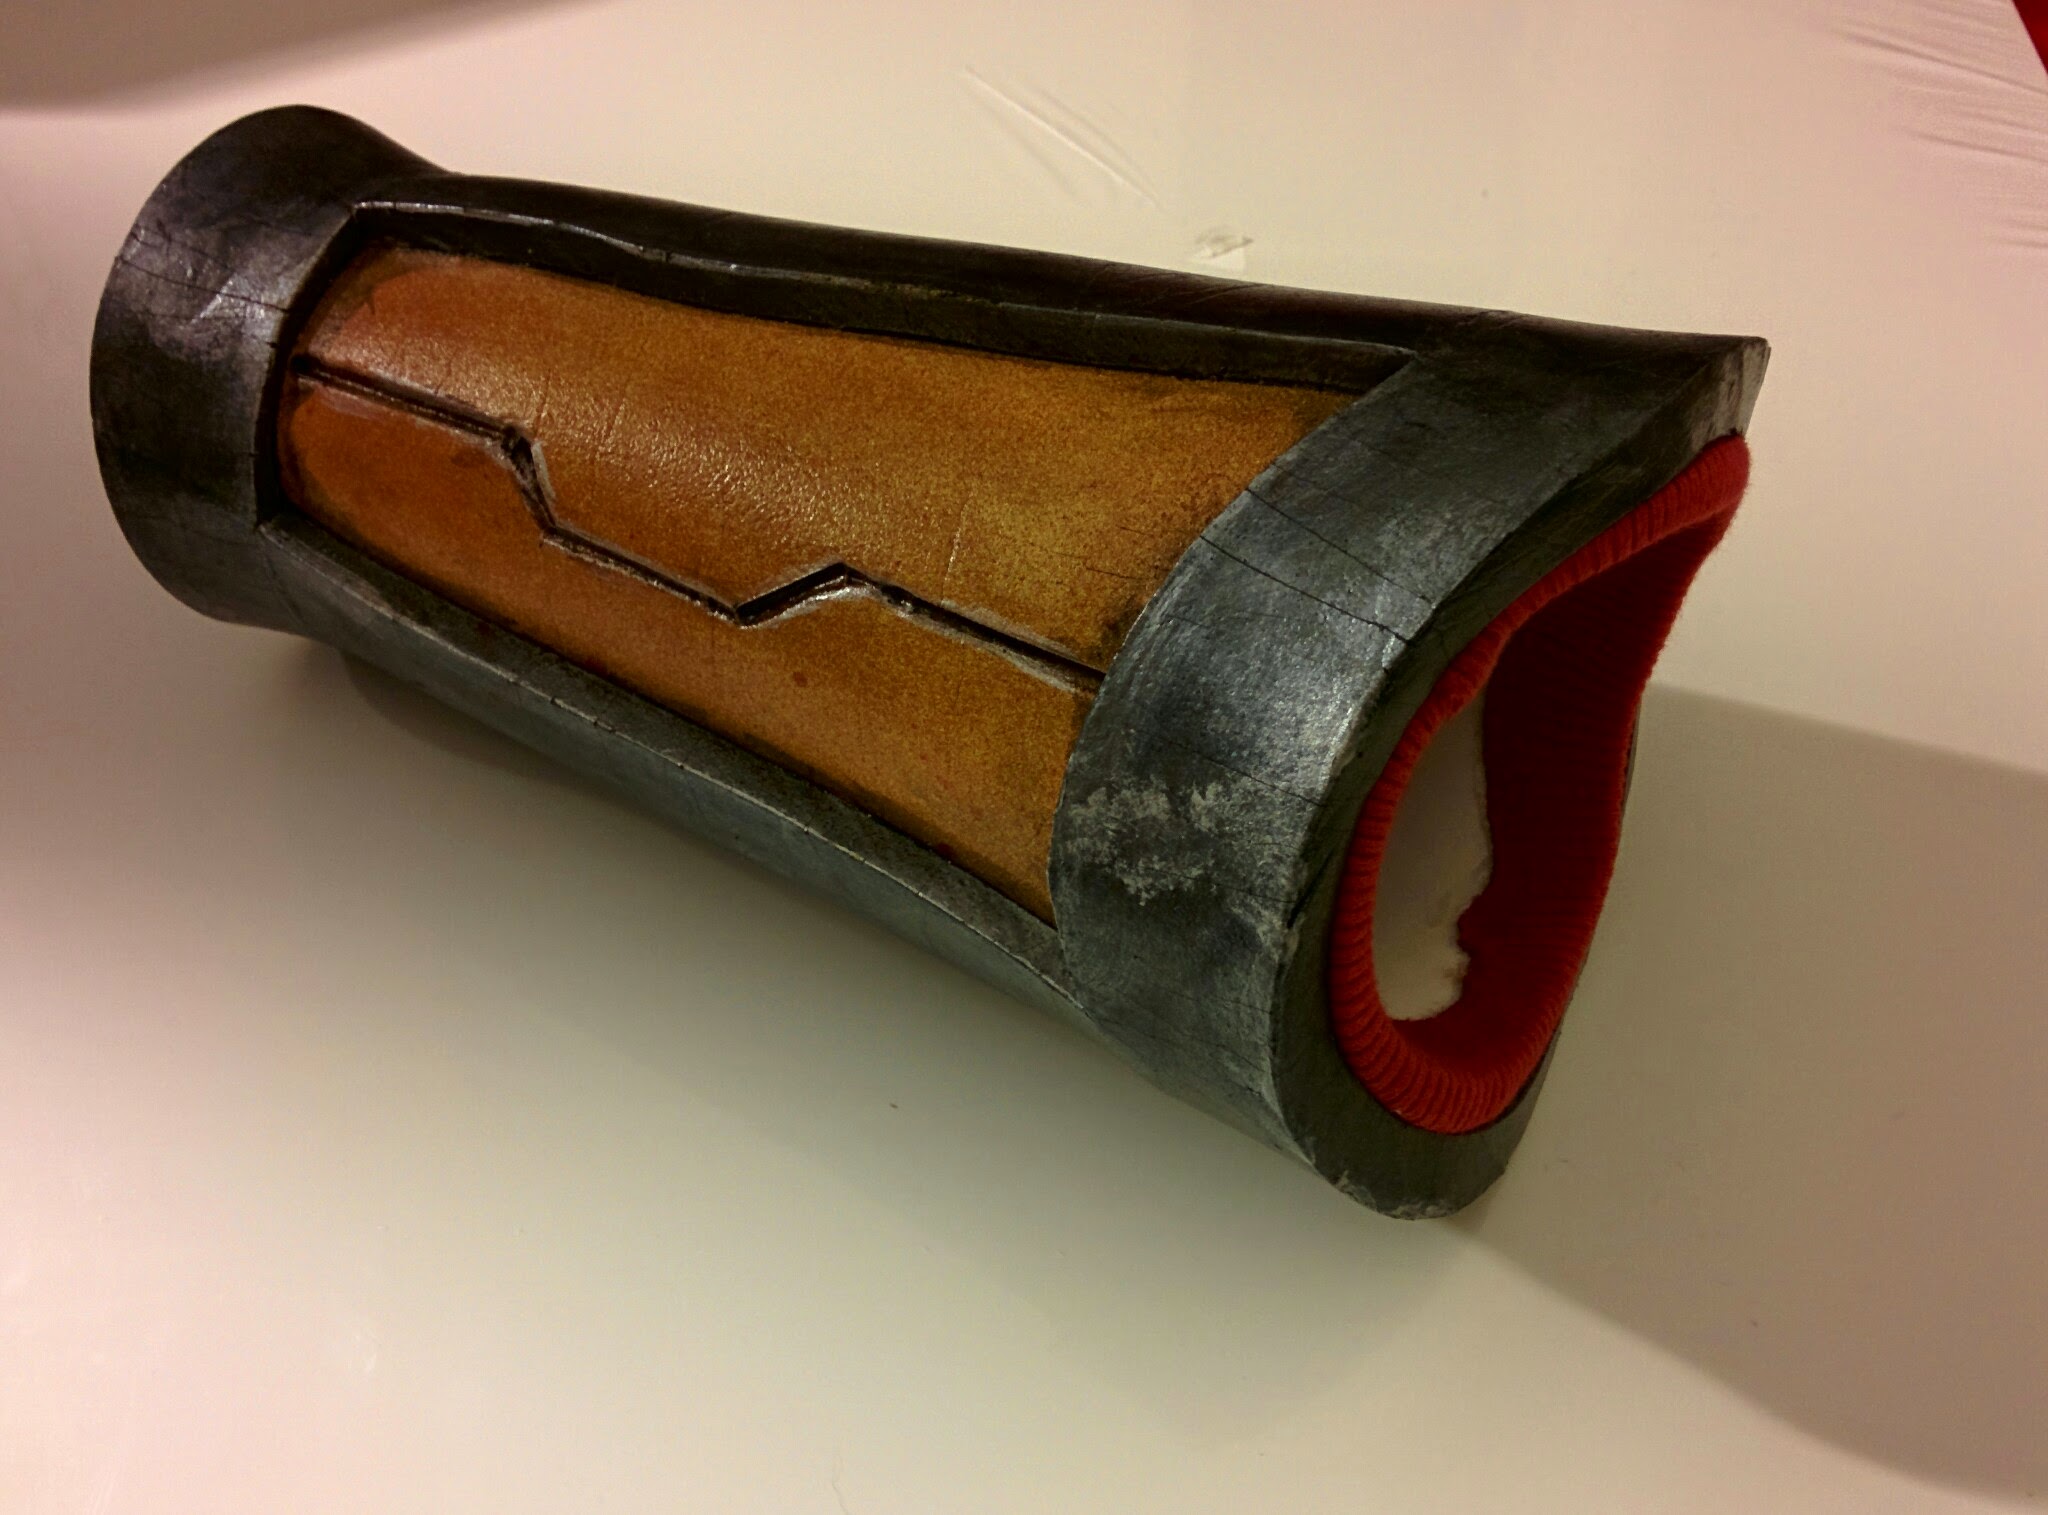
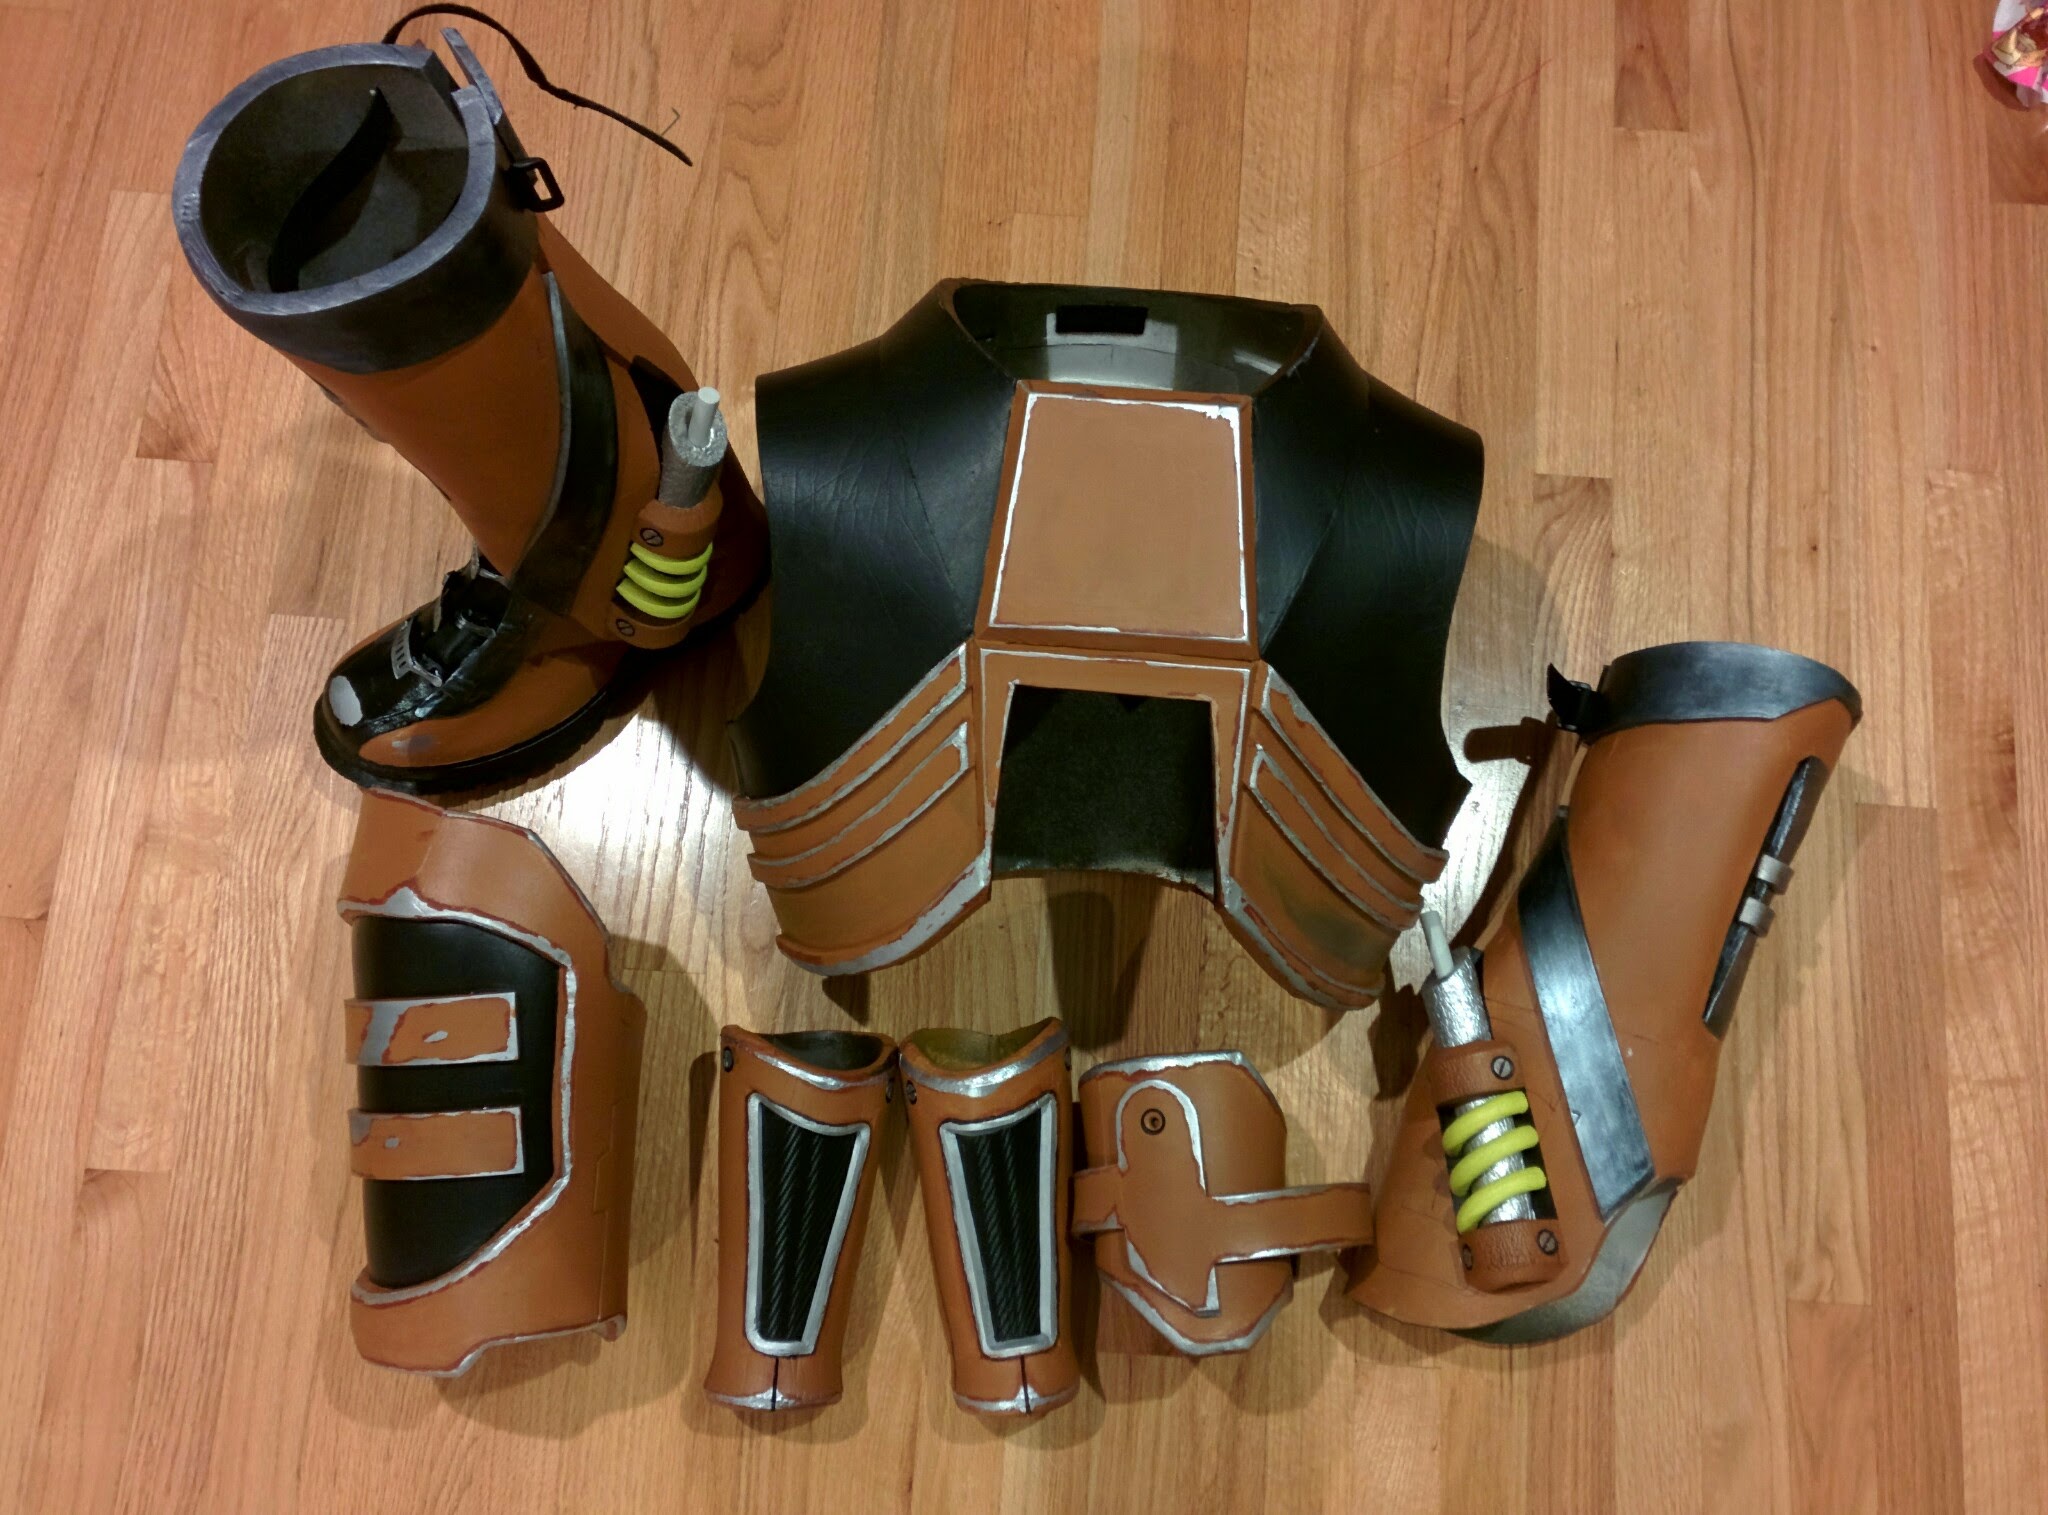
I heavily modified the feet and ankles and a bit on the bracers but the chest piece was very close to the original.
I used water based caulk and a wet finger to smooth in the cracks.
I inserted a wire coat hanger into the belt piece so it held its shape.


Painting
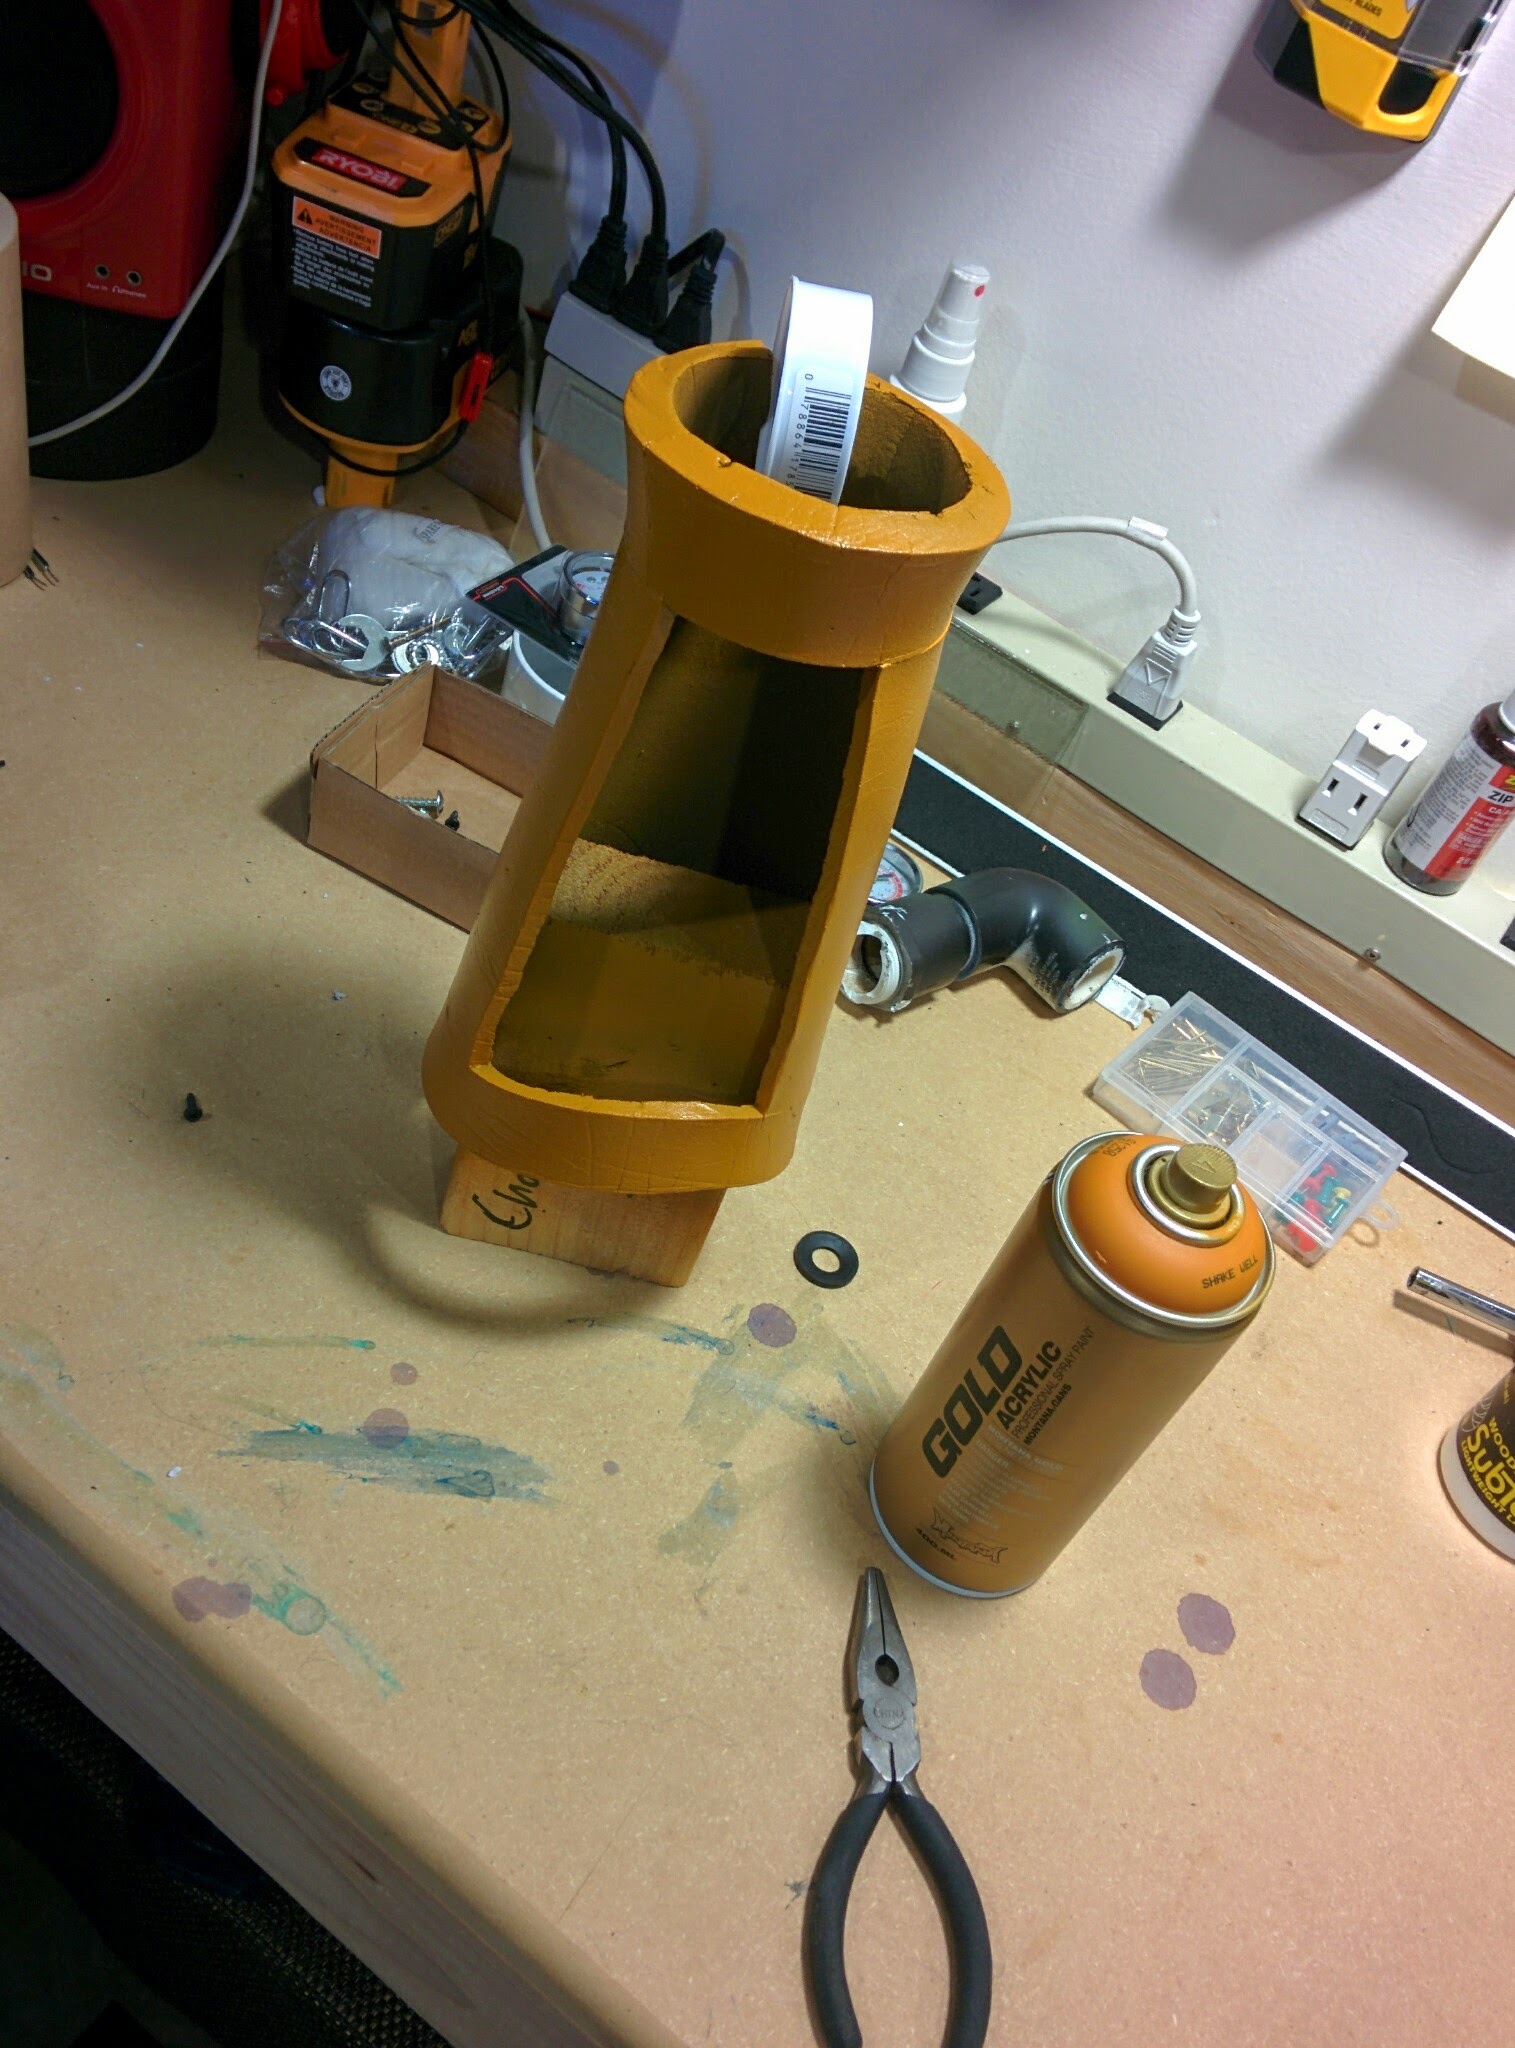
Once the foam was all cut I moved onto painting the base coat. Spray paint seemed the logical choice and Steve Wang (I know) gave me some suggestions. He also suggested spraying everything with this stuff called Plastidip. That is a must. It makes the foam non porous while maintaining flexibility, which it key if you want it to look like metal.
Here’s a video of the spraying process.
I used several colours in light coats to get the desired effect. It worked ok but in hind sight I might have been able to go so a specialist paint store and have them custom mix a few spray colors. Anyway it worked. For the silver I used a Rustoleum hammered metallic spray paint for plastics. Actually pretty much all of them were for plastics and matte/flat.
On the second suit I took a different approach and will detail that more later.


Next came the hand painting part. You can use acrylics to paint the detail. My only experience was painting Warhammer citadel miniatures as a kid but most of the same practices applied. Sort of.
I also used a combination of gloss and matte clear coat varnish as a top coat to get metal sheen. This is the same stuff painters use to varnish their paintings to protect them as sort of a final coat. You can get it from paint or craft stores. Liquitex Gloss Finish.
I bought a bunch of different sized brushes and a starter kit of acrylic paints for the details and then just sat and painted. Lots of experimentation. It had been a while. I used sponges for the washes and just patted watered down paint to age the suit. Black, blue and green on the silver and browns and blacks on the orange.

I printed many of the pictures on the web of the Valve artwork of Freeman and used that as reference.
Other Details
For the ring of lights on Freemans back I made a custom ring of lights using a roll of sticky back LED lights, a dimmer and a 9volt battery. All of which can be bought from Amazon for cheap. I cut the top of a CD-R spindle as it was nice an round and clear. I cut little holes in it and plasti dipped it and painted it black. There was not a specific instruction to follow on this one either. It was ad hoc and custom. I wish I had more pictures. I also went a bit off the HEV suit design here to for hell of it.


I built the dimmer into the center of the light ring so it could be easily turned up or down on set.
For the gloves I ordered some foam padded tactical gloves and then dry brushed them with silver acrylic paint to make them look worn.
For the red foam inserts I ordered a single cheap memory Foam Mattress Topper from Amazon and cut it with a sharp kitchen knife. I got the red fabric from a costume designer friend of mine who got it somewhere at the fabric district in downtown LA. I wrapped it and hot glued the fabric to the foam. He also created the under suit, but in lieu of that type of awesome hookup you can order one of those 1 piece cotton or modal suits online. I used Sticky-Back Velcro
on the foam inserts which I also ZAP A Gapped
onto the suit. That way he could get in and out of it and I put the inserts in after.
That was pretty much it for the first round. For the Kickstarter & Indiegogo episodes I knew I had to take it to the next level. So I took the suit apart and began the process of modifying and repainting it to look more like the Mark 4 suit from the original game.
Round Two – The HEV Mark IV
The HEV Mk5 concept art from VALVE had a yellow/orange de-saturated look to it and I tried to emulate that first time around. This time I want to emulate the Black Mesa model based on the HEV suit in original game with some additional stuff and a bit of my own flair. So knowing time and resources were limited I began tearing apart the first suit.


During the first film Bernhard didn’t do a great deal of activity. Just the zombie smashing. In the second episode he’s also running, jumping, falling, etc. I only had enough budget for one suit so the suit needed major upgrades in the maneuverability and survivability areas. Also I knew I had to seriously rework the undersuit and how it connected to the oversuit. He also had to be able to take it on and off easier.


During the filming he pretty much had two dedicated persons constantly wrangling the suit when the camera is not rolling. Making sure its all lined up, any touchups to paint, hair and makeup.
I had to buy a lot of stuff to get the second suit made.
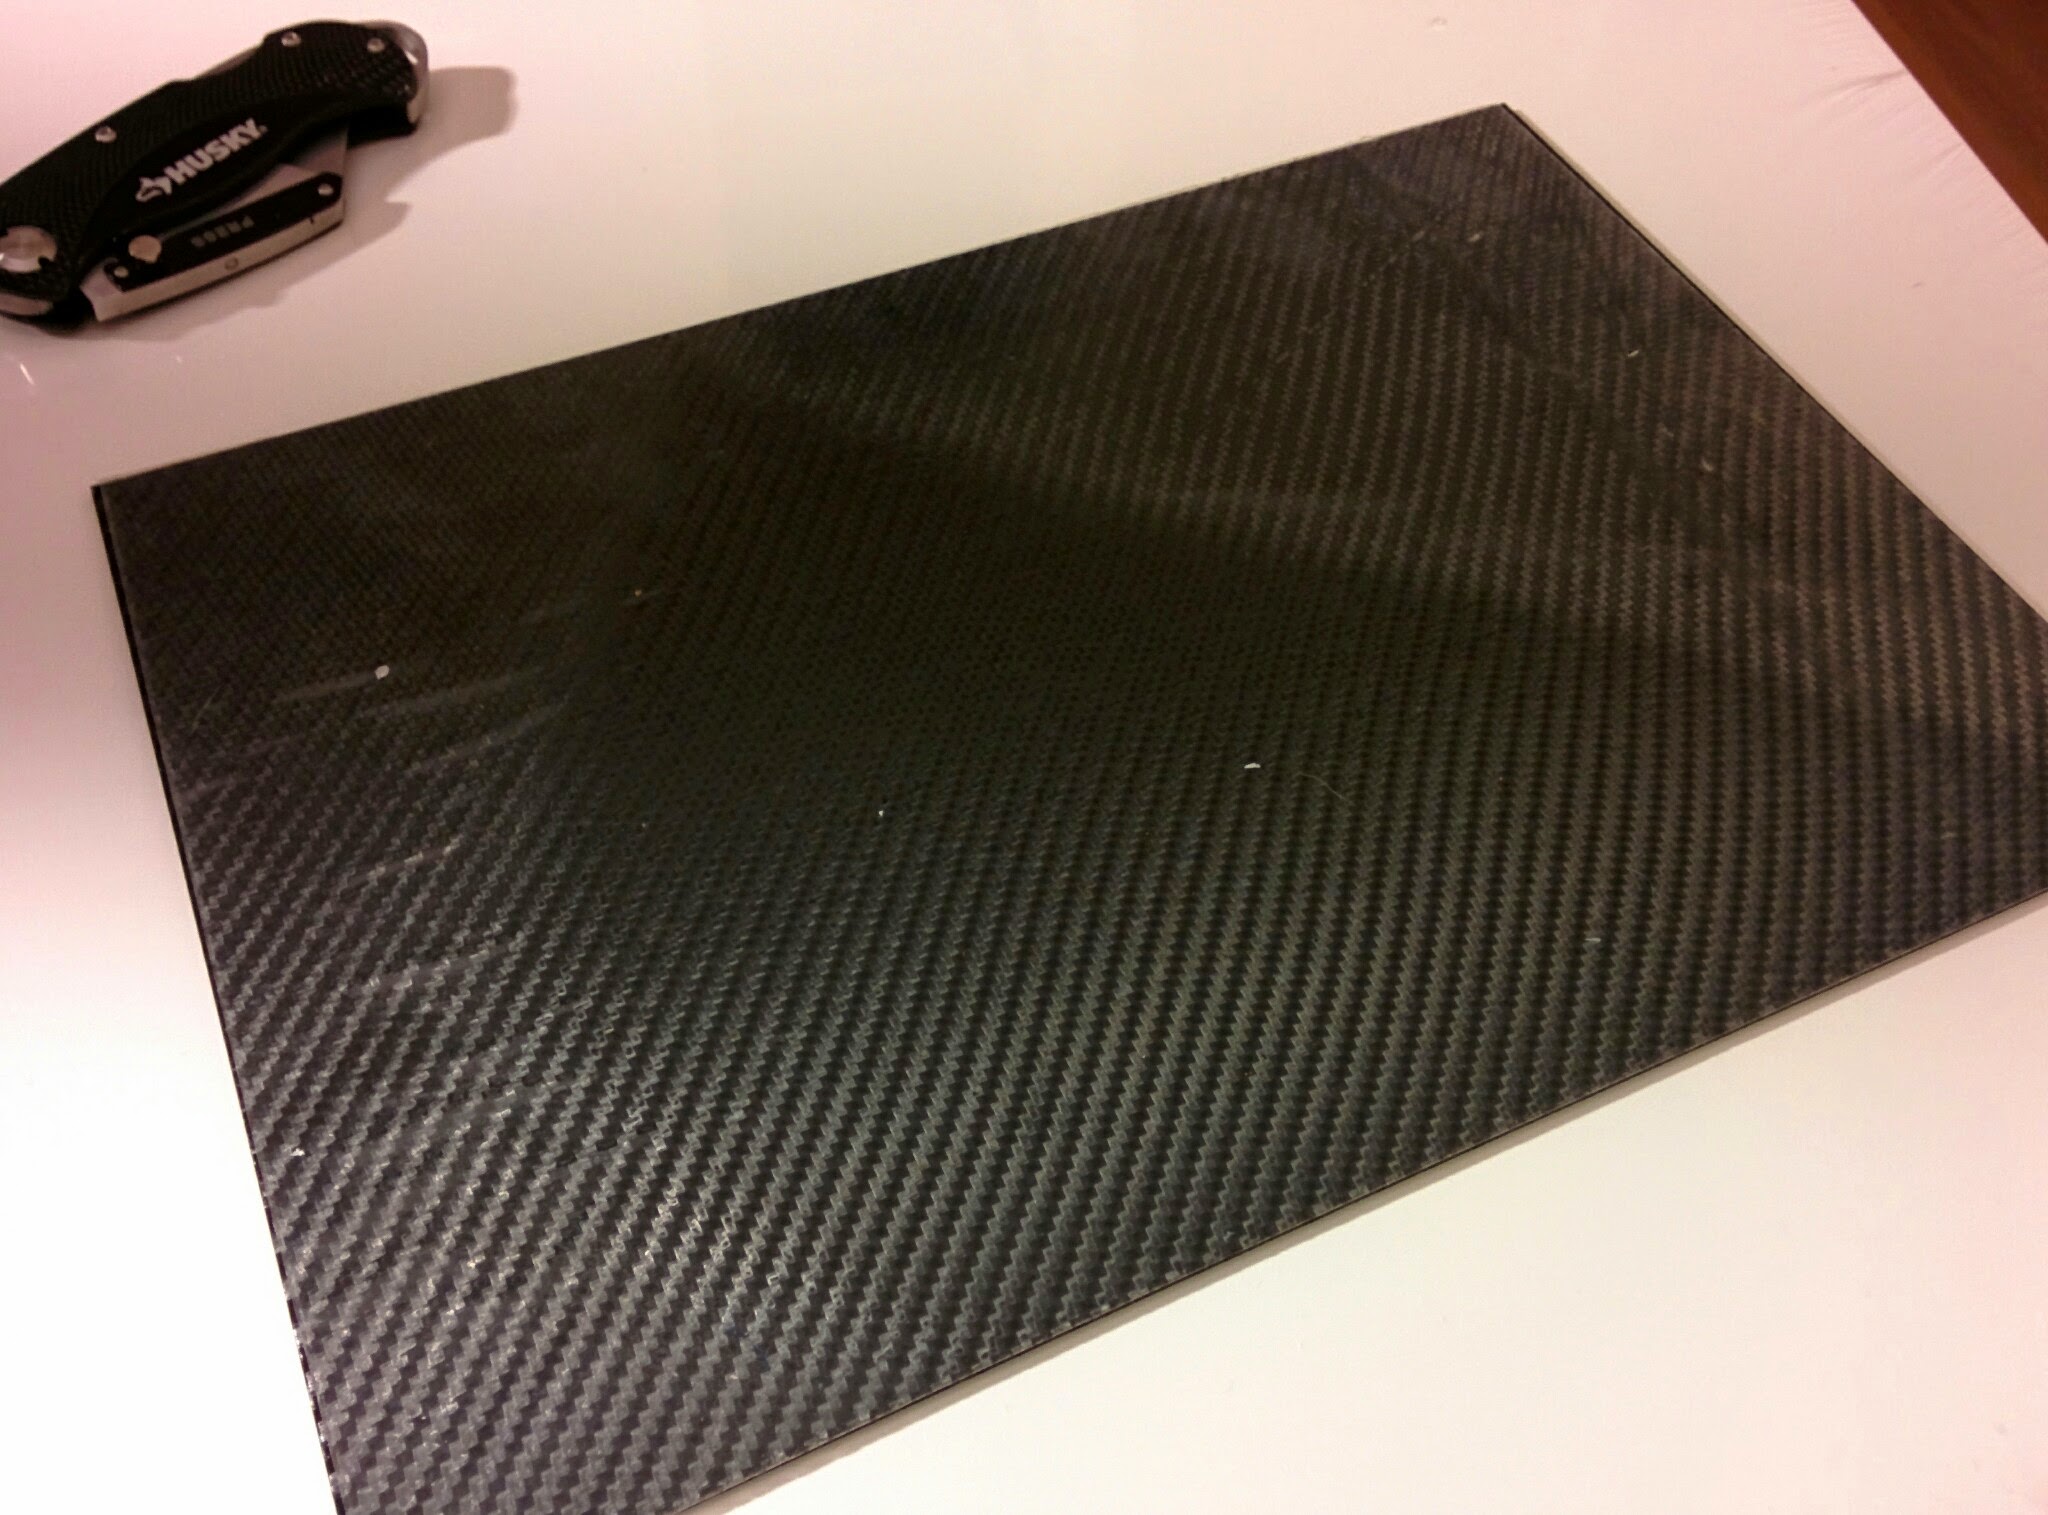
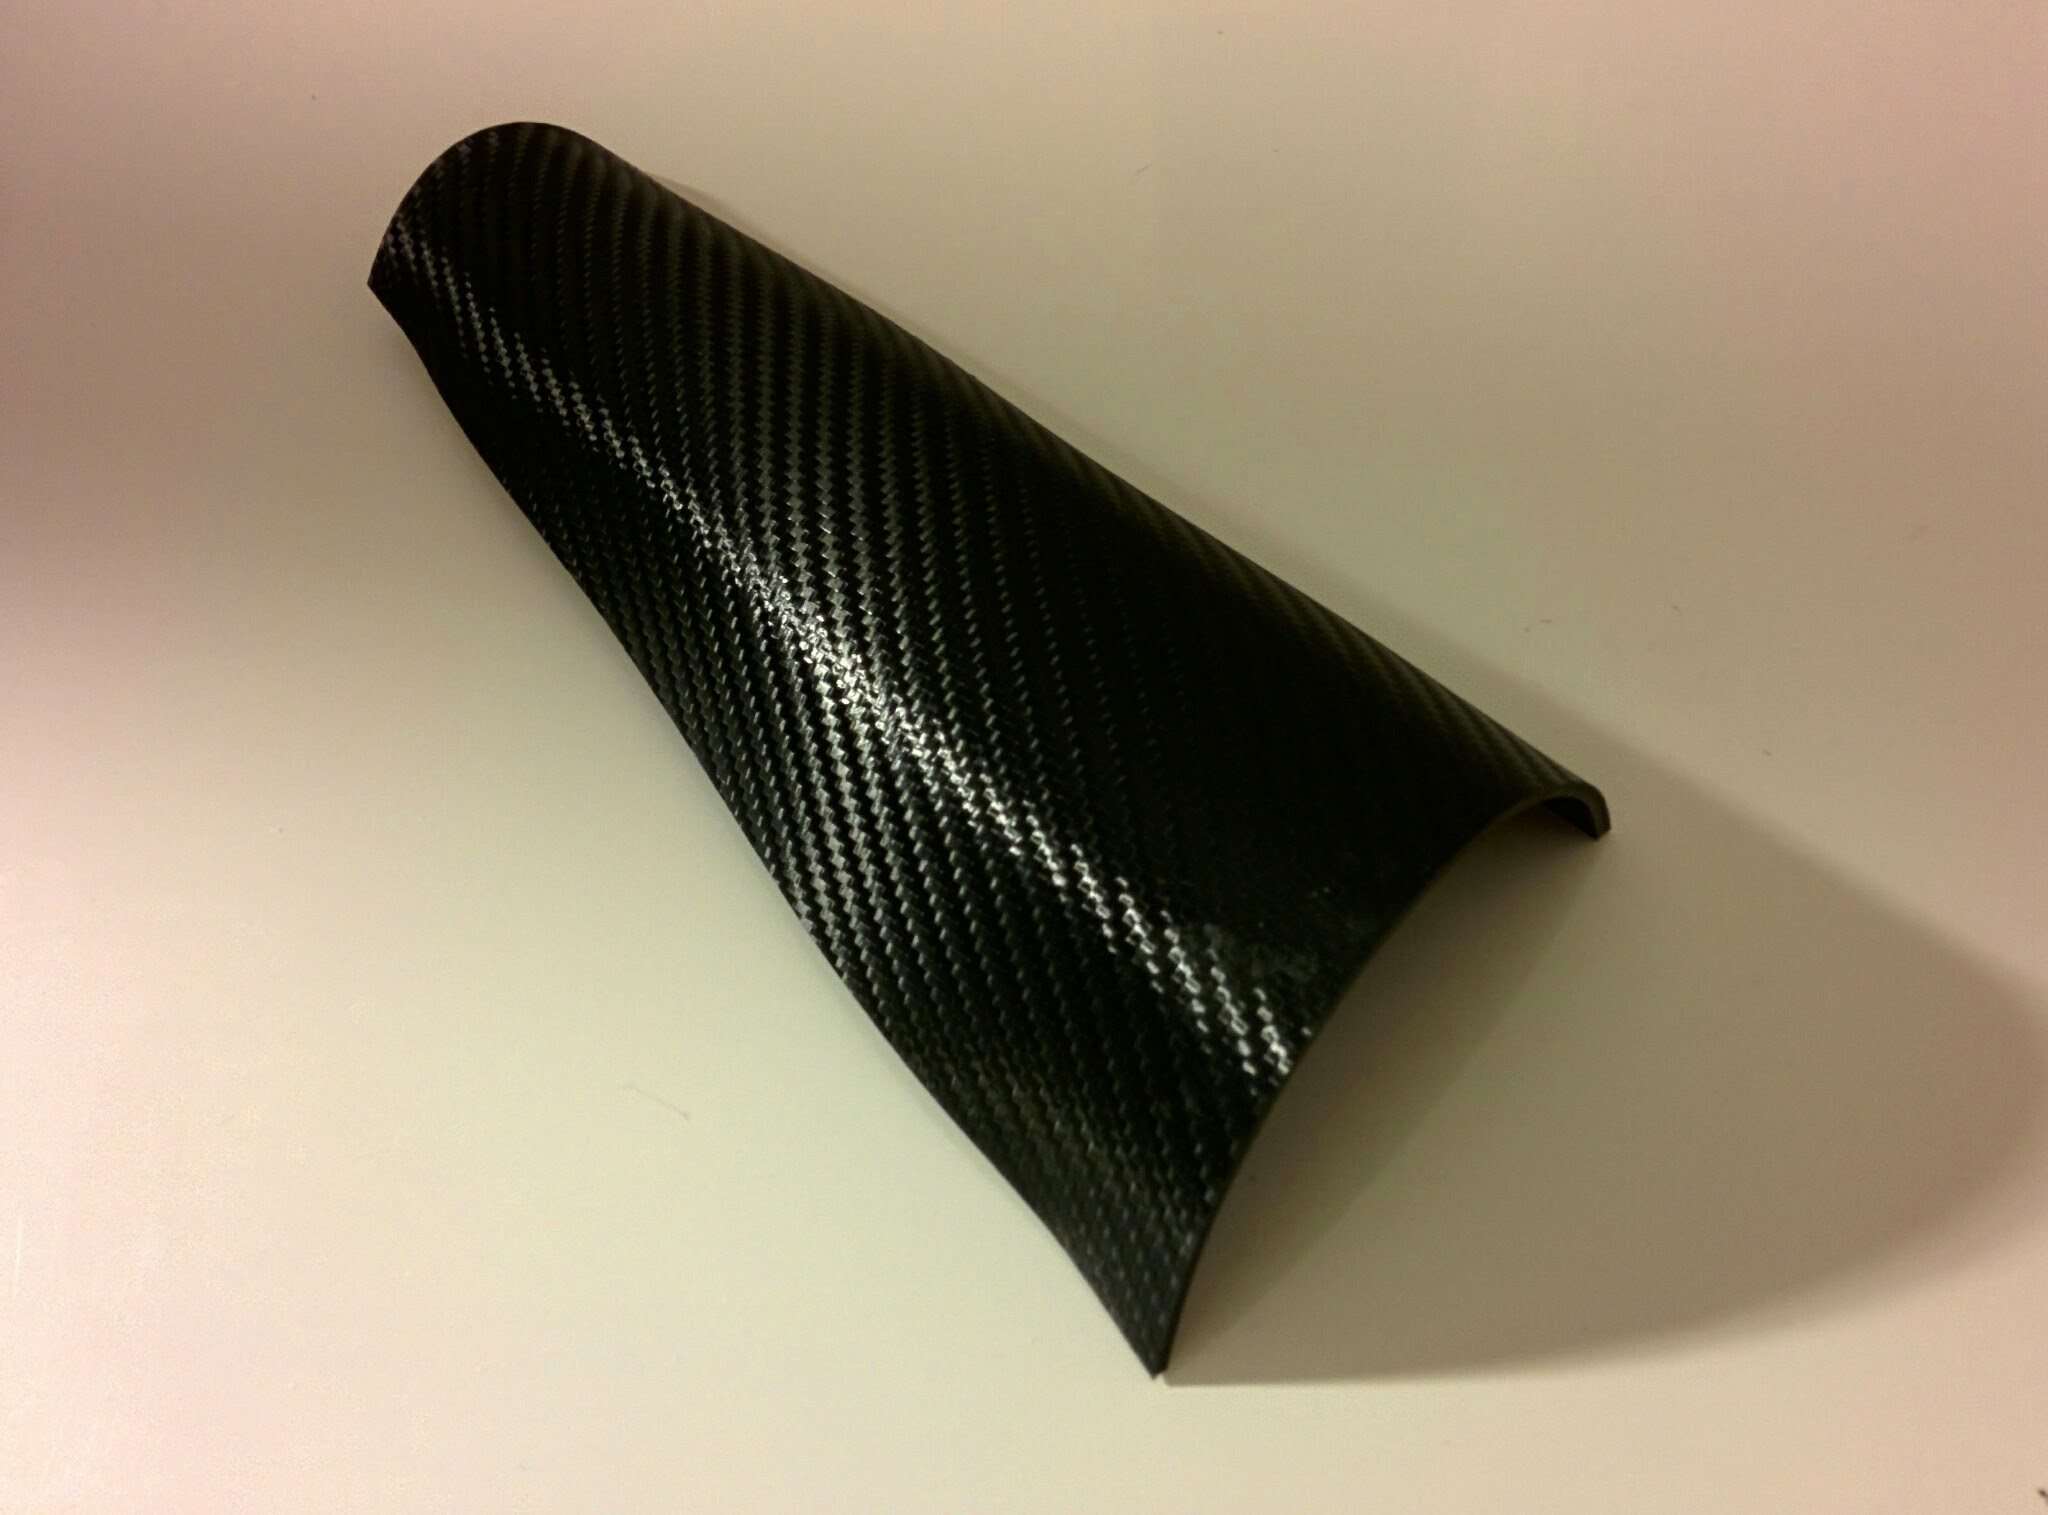
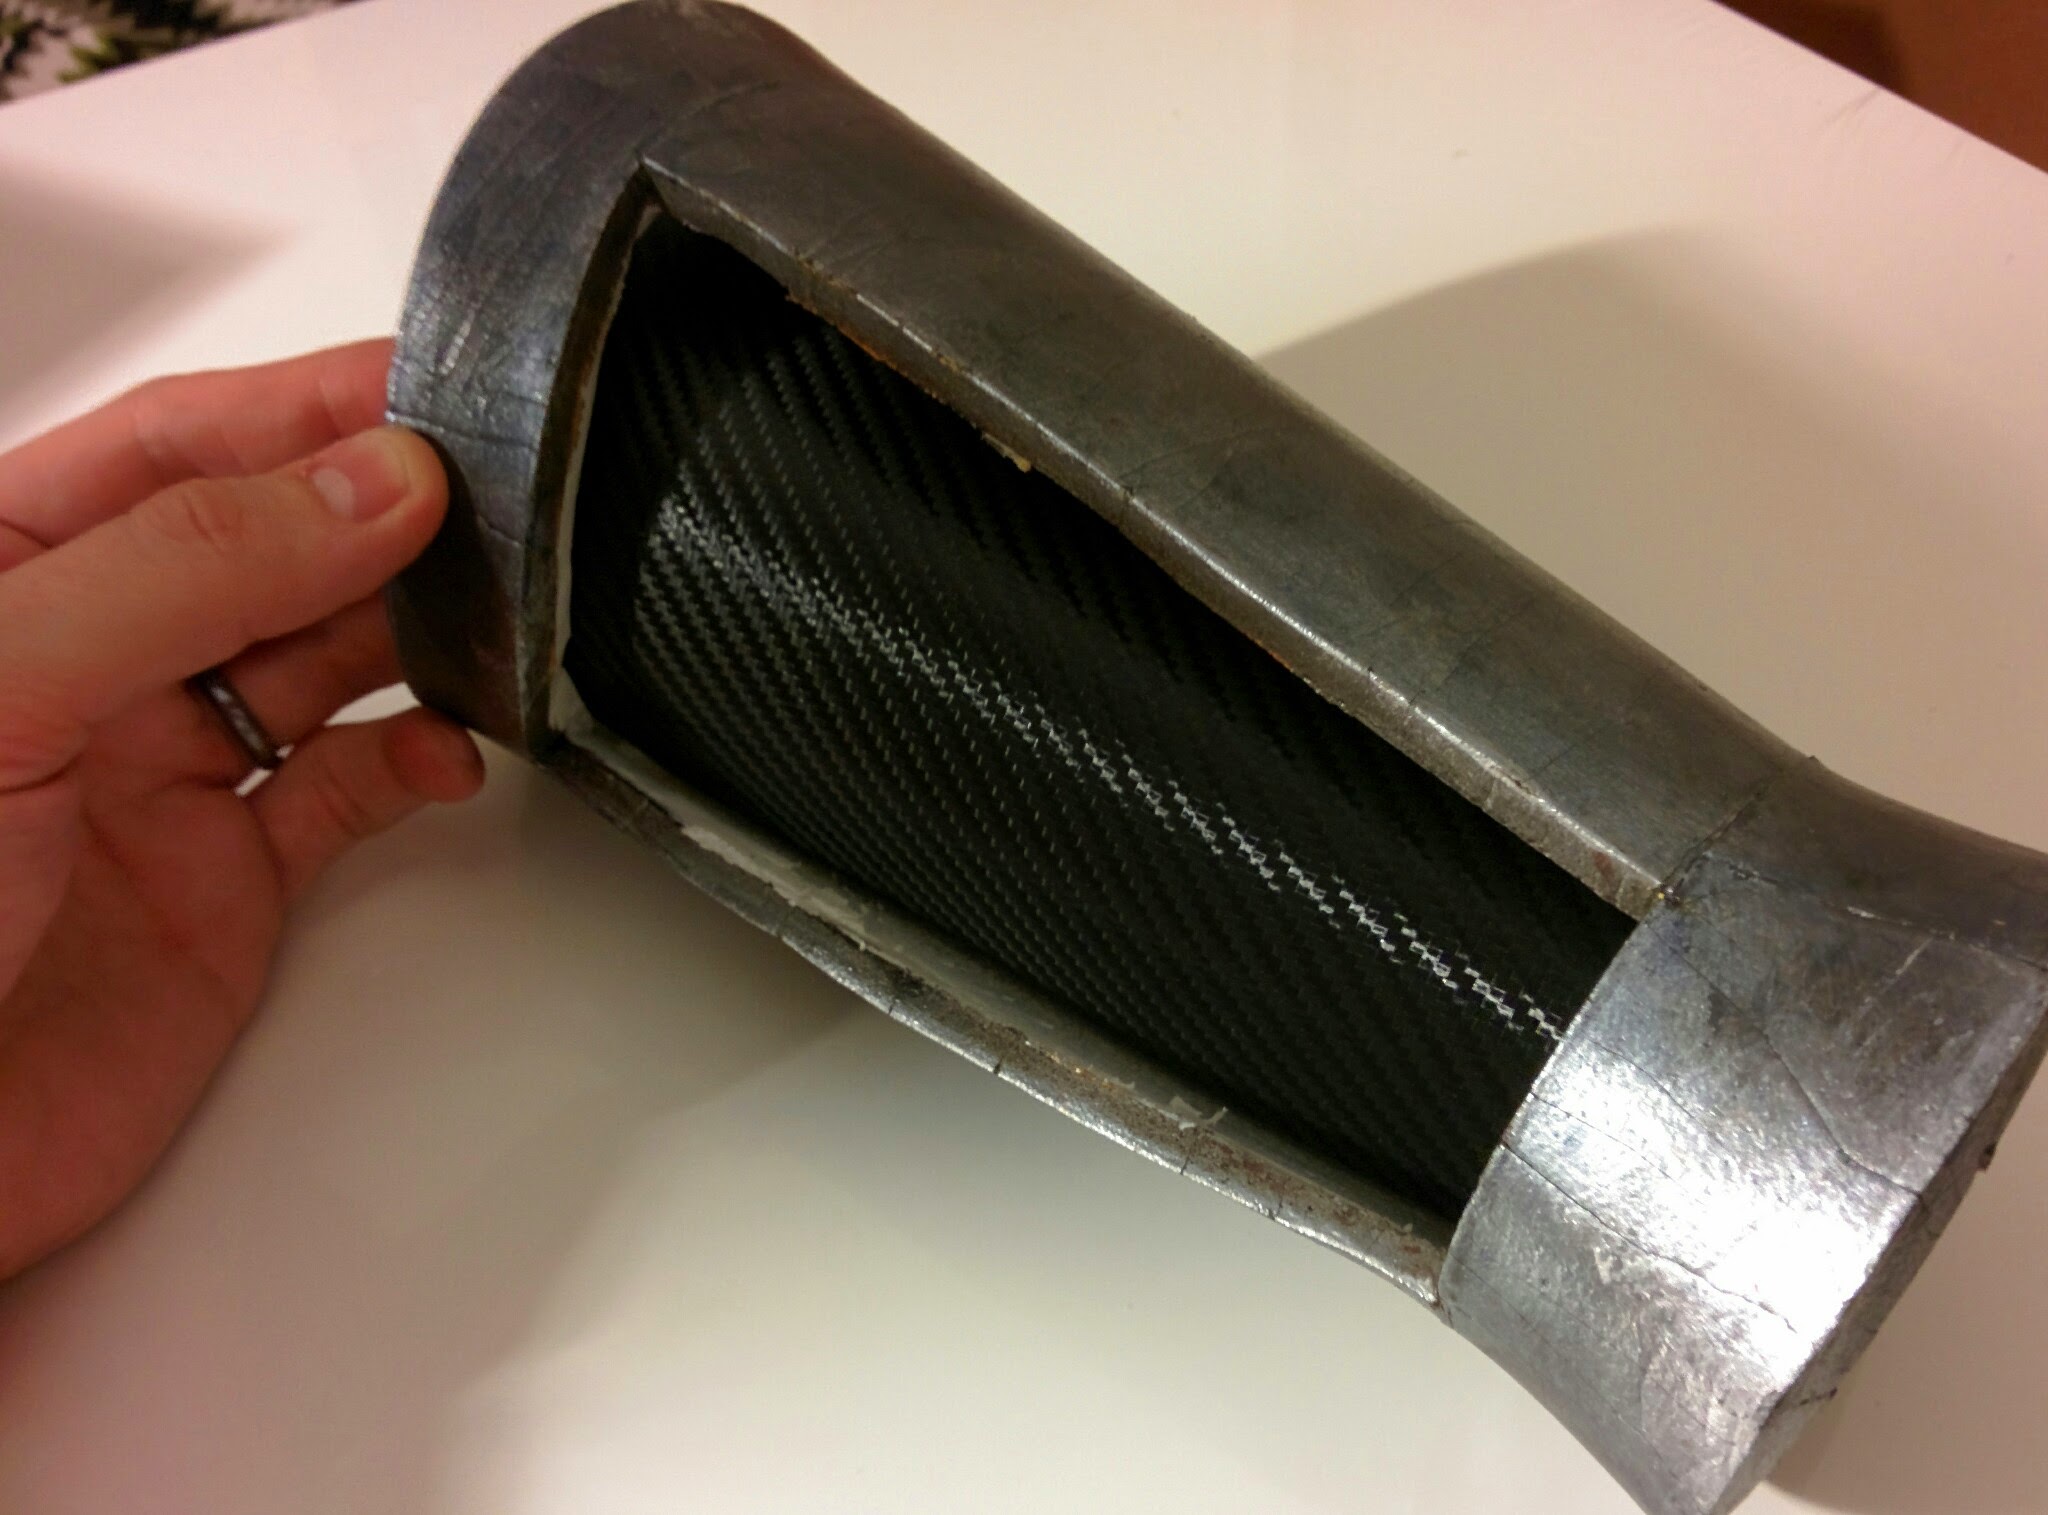
Dremel | Airbrush Compressor | Barge Cement & Thinner | Dual Action Airbrush | Zap-A-Gap | Wetsuit | Carbon Fiber Pattern Thermoform Sheet | Black Self Etching Primer | Heat Gun | Montana Gold Acrylic Terra | Plastidip
I had a bit of a set back with the boots. I didn’t think they would need to be plastidipped, but after a 5 minute walking test the paint was no more.


I have added a kind of jump/fall shock absorber to the boot for effect. This is a bit of creative license. The feet will be the least seen part of the suit so I can practice and have my screw ups on parts that don’t get a lot of screen time.


I finally pulled out the needle and thread. Being that Bernhard (Freeman) and I no longer live in the same city the sizing of the suit is tricky. It has to stretch to fit him but also be tight and stay in place. Nothing beats just being able to have him come over to test things out.
I used an old mannequin as the Bernhard stand in and then i started building straight onto a wet suit. I used a puffer coat which i sowed with a machine and then stuffed with polyester.


I have basically sliced down the seam of every piece of the suit and sewn in either elastic or some kind of buckle in place. It’s a good thing as the suit was endlessly slipping down in the first episode and a couple times we forgot to move it back into place.
I painted all the edges in silver acrylic then dabbed a bunch of copydex/masking fluid all along the edges. Once that was dry I spray painted the whole thing with a couple of coats of acrylic spray paint. Once that was dry I picked the copydex off which leaves a nice chipped, worn edge look.


The horse shoe shaped thing is the padding that goes into the top of the chest piece. It was red before, but I had to re-cover it in pleather so as to match the look of Half-Life.
Electronics
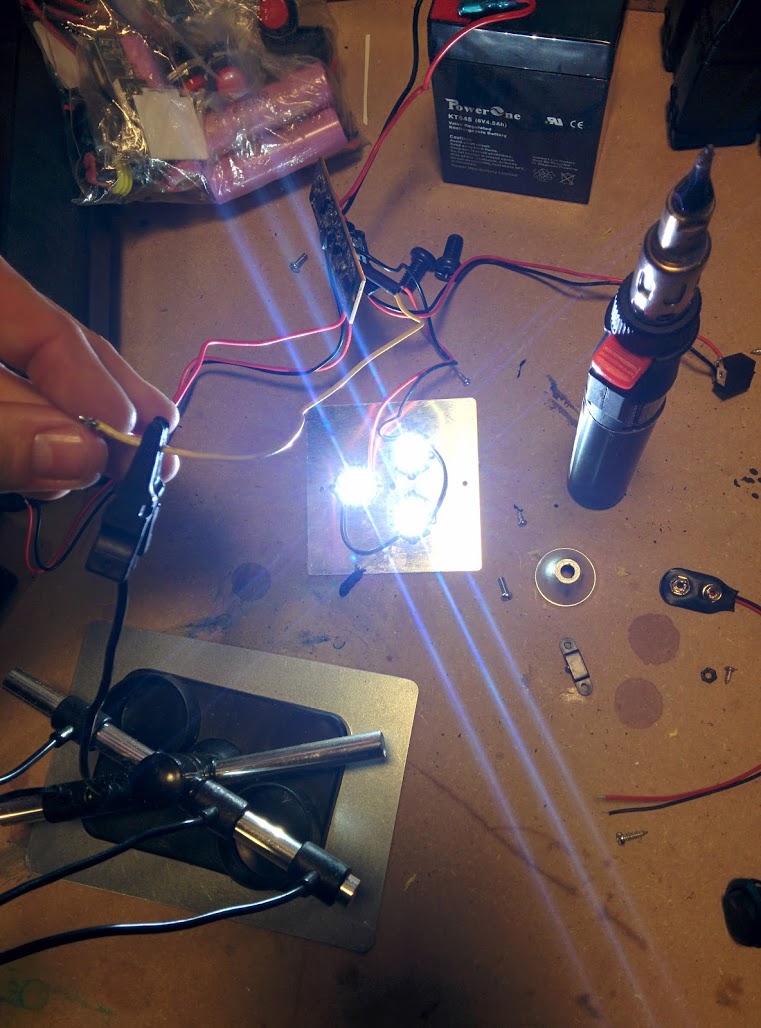
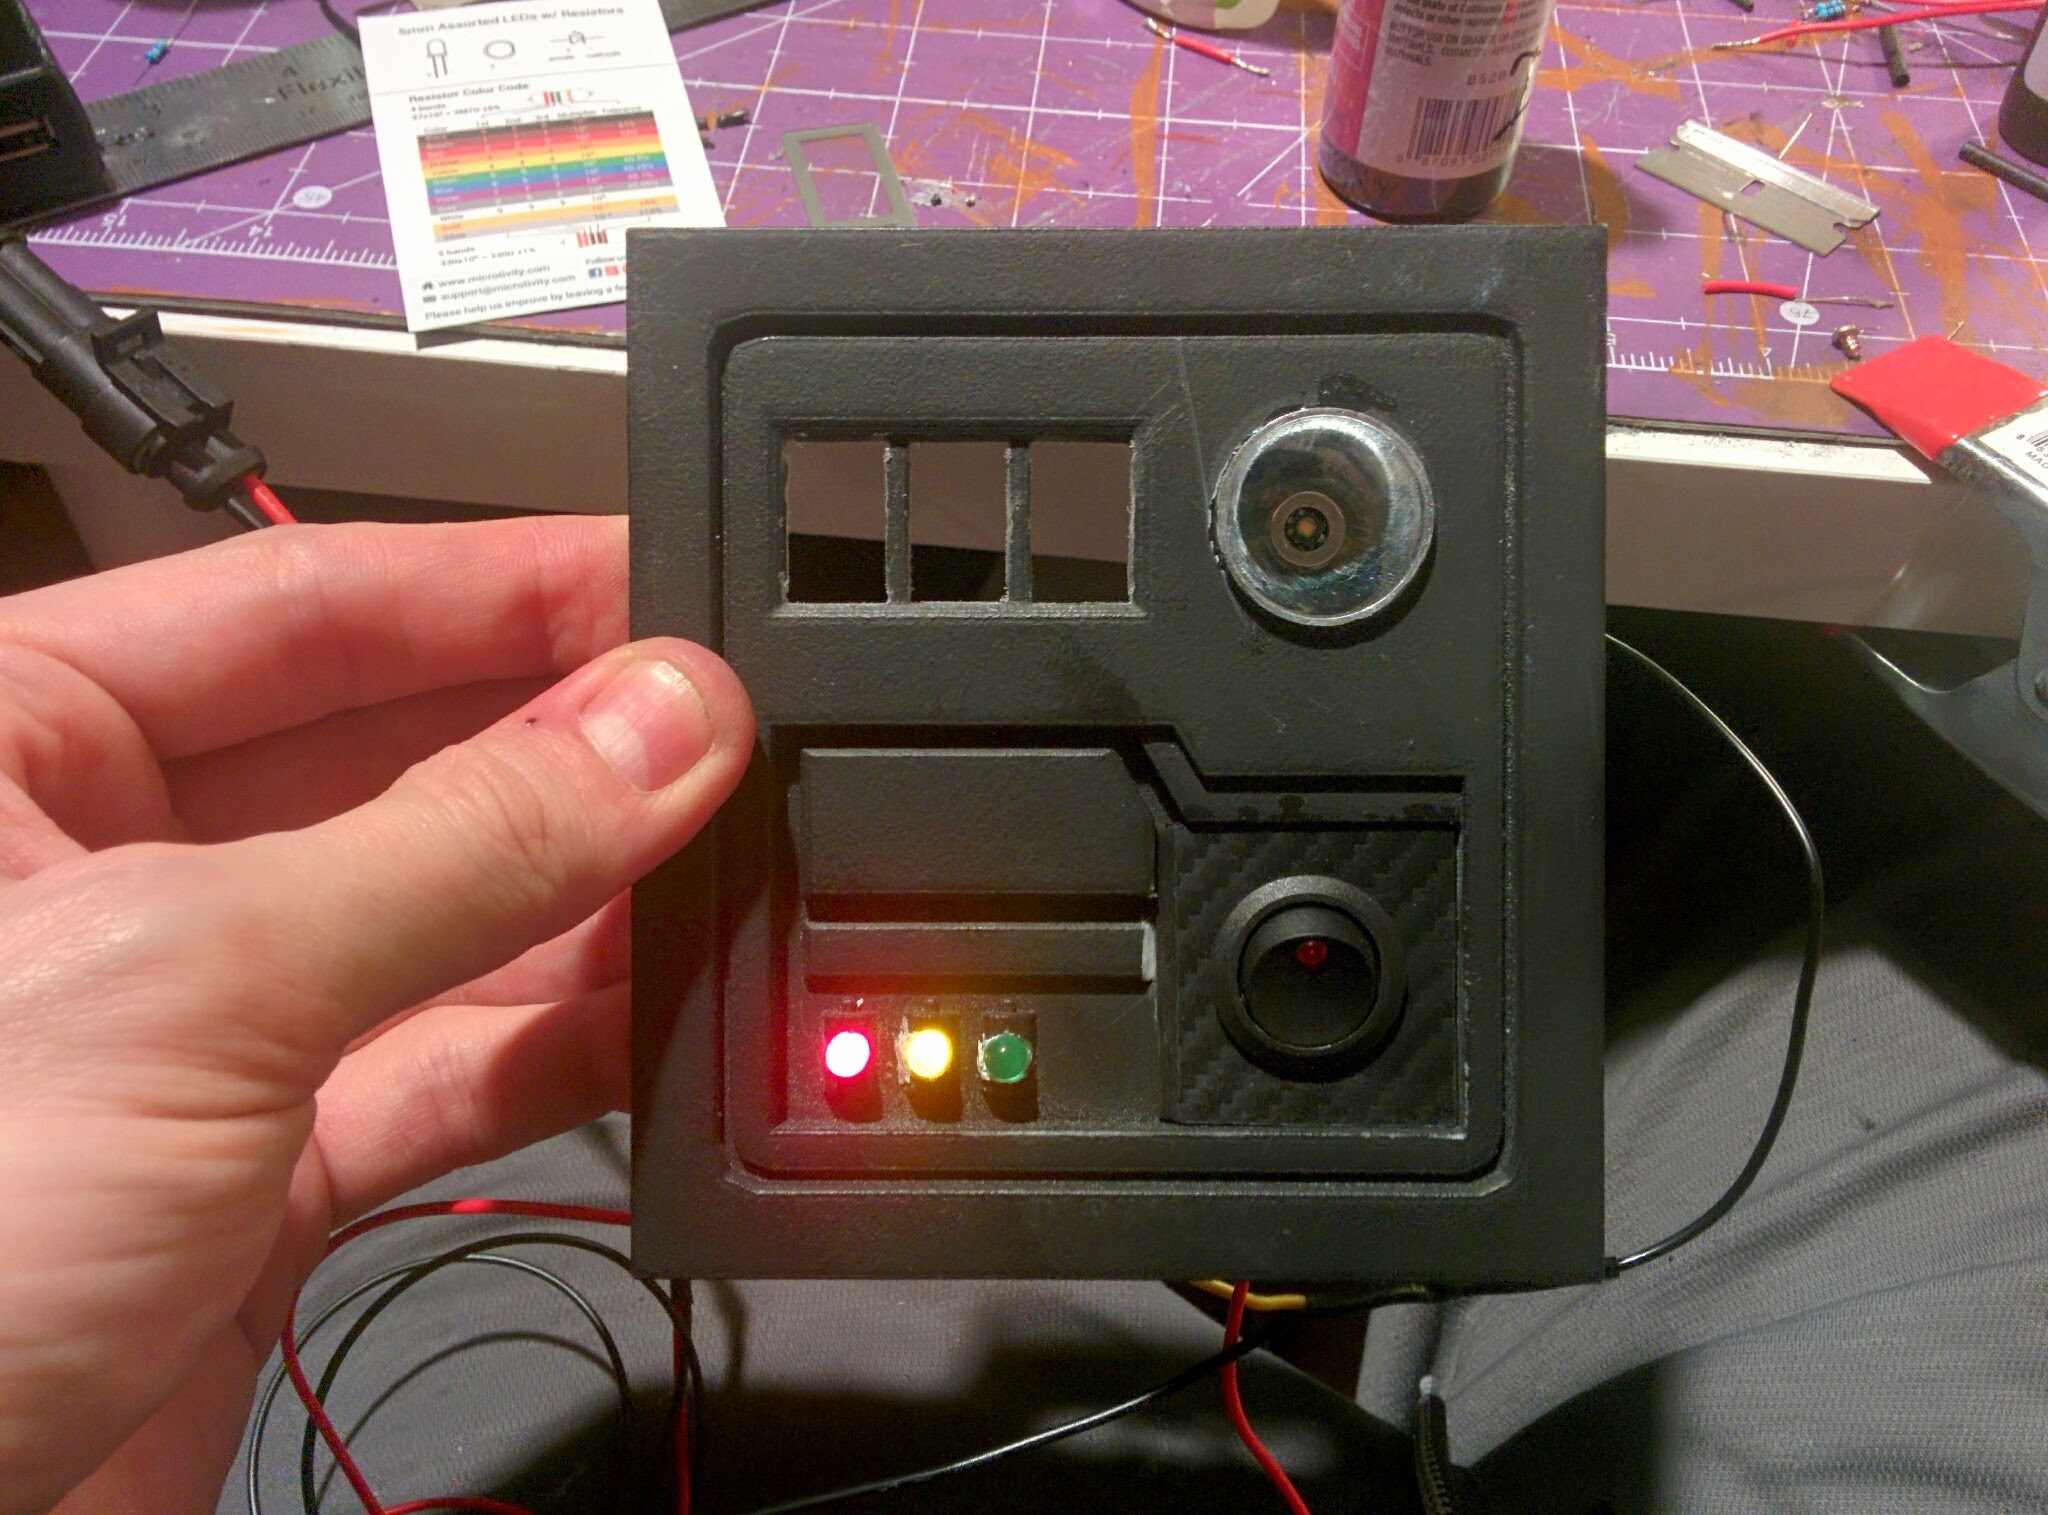
I created a design in 3D for the mid section control panel and then sent it online to Shapeways along with the 3D printed logo. Doing this type off intricate design was so much faster in 3D and then it arrives in the mail shortly after. The electronics in the midriff we pulled from a high power LED flashlight which I added some resistance to with the advice of my dad to reduce the output of both light and heat. I wanted it to all be self contained so that Bernhard could turn it all on and off himself.


Finally the last thing I did was put the 3D printed log on the suite and then dirty up and age the paint job to get it sufficiently grimy looking.
Hopefully it gives you some insight into the process.


You must be logged in to post a comment.